Wire Shielding, Recent Projects |
|
|---|---|
| Below are a random sampling of photos of recent projects. | |
| Click on any image for full resolution photo. | |
| See this link for the history of our efforts to develop wire shielding methods. | |
| See this link for photos of some work by our competition. | |
 |
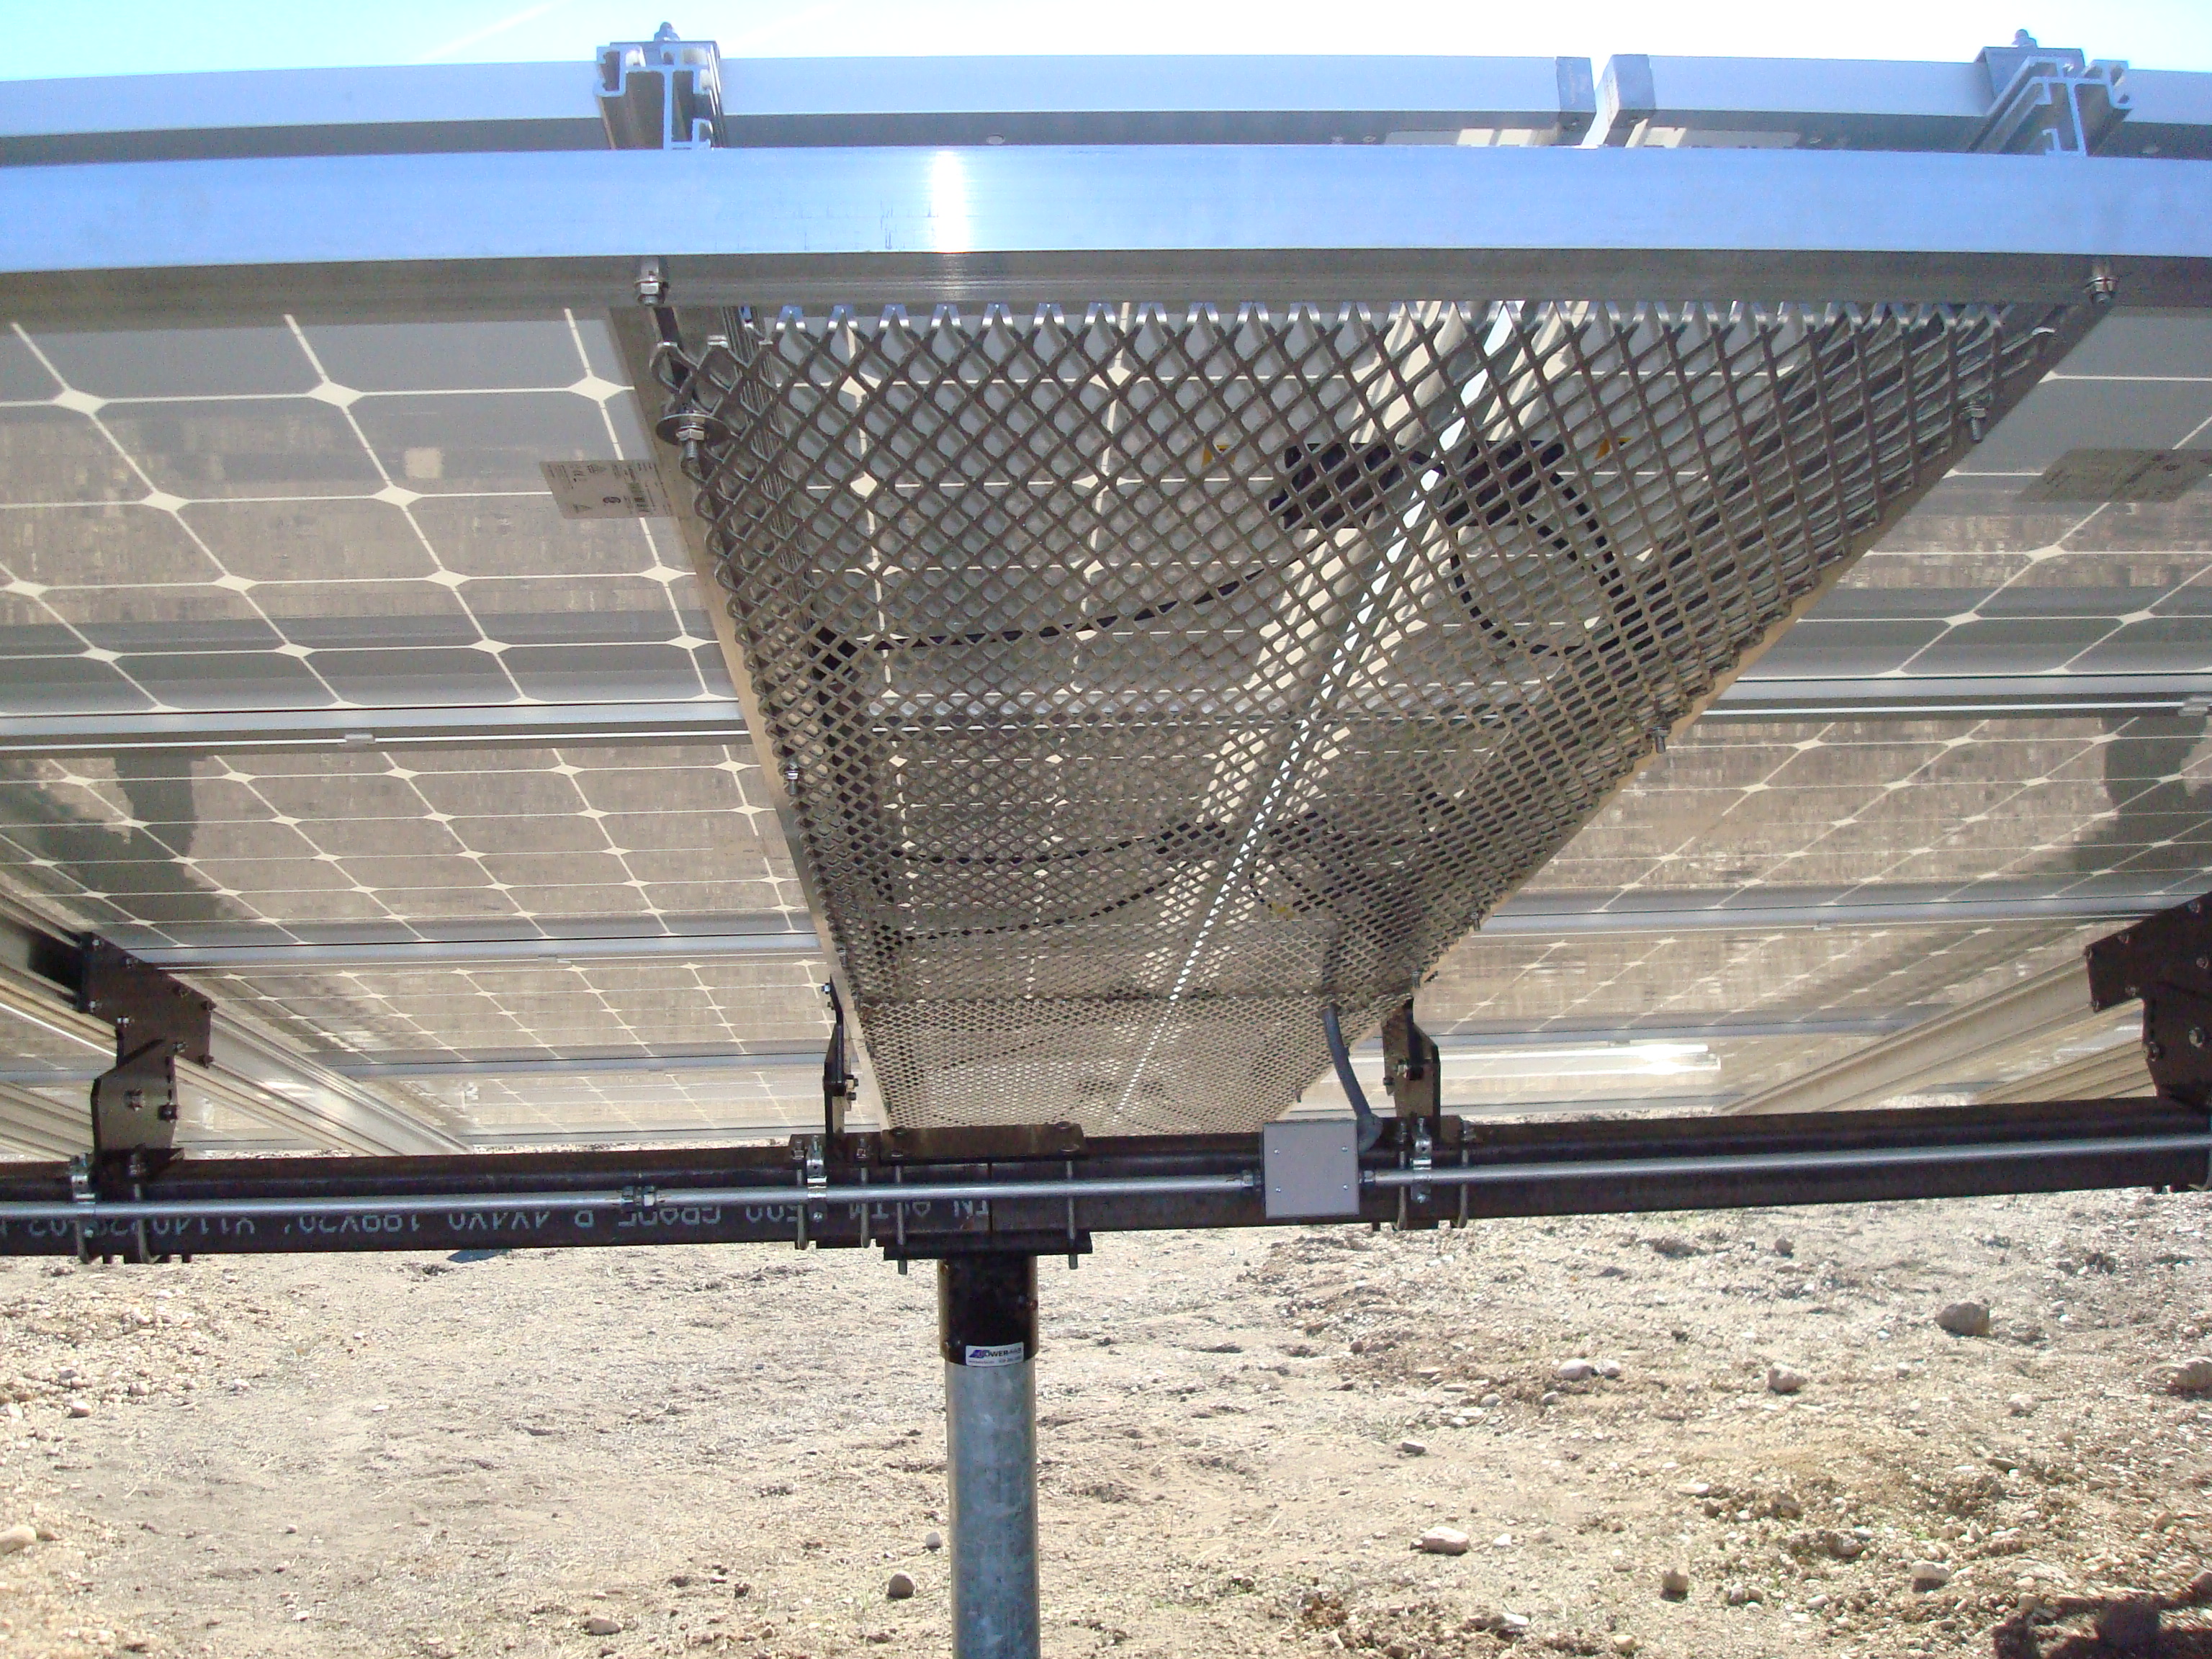 |
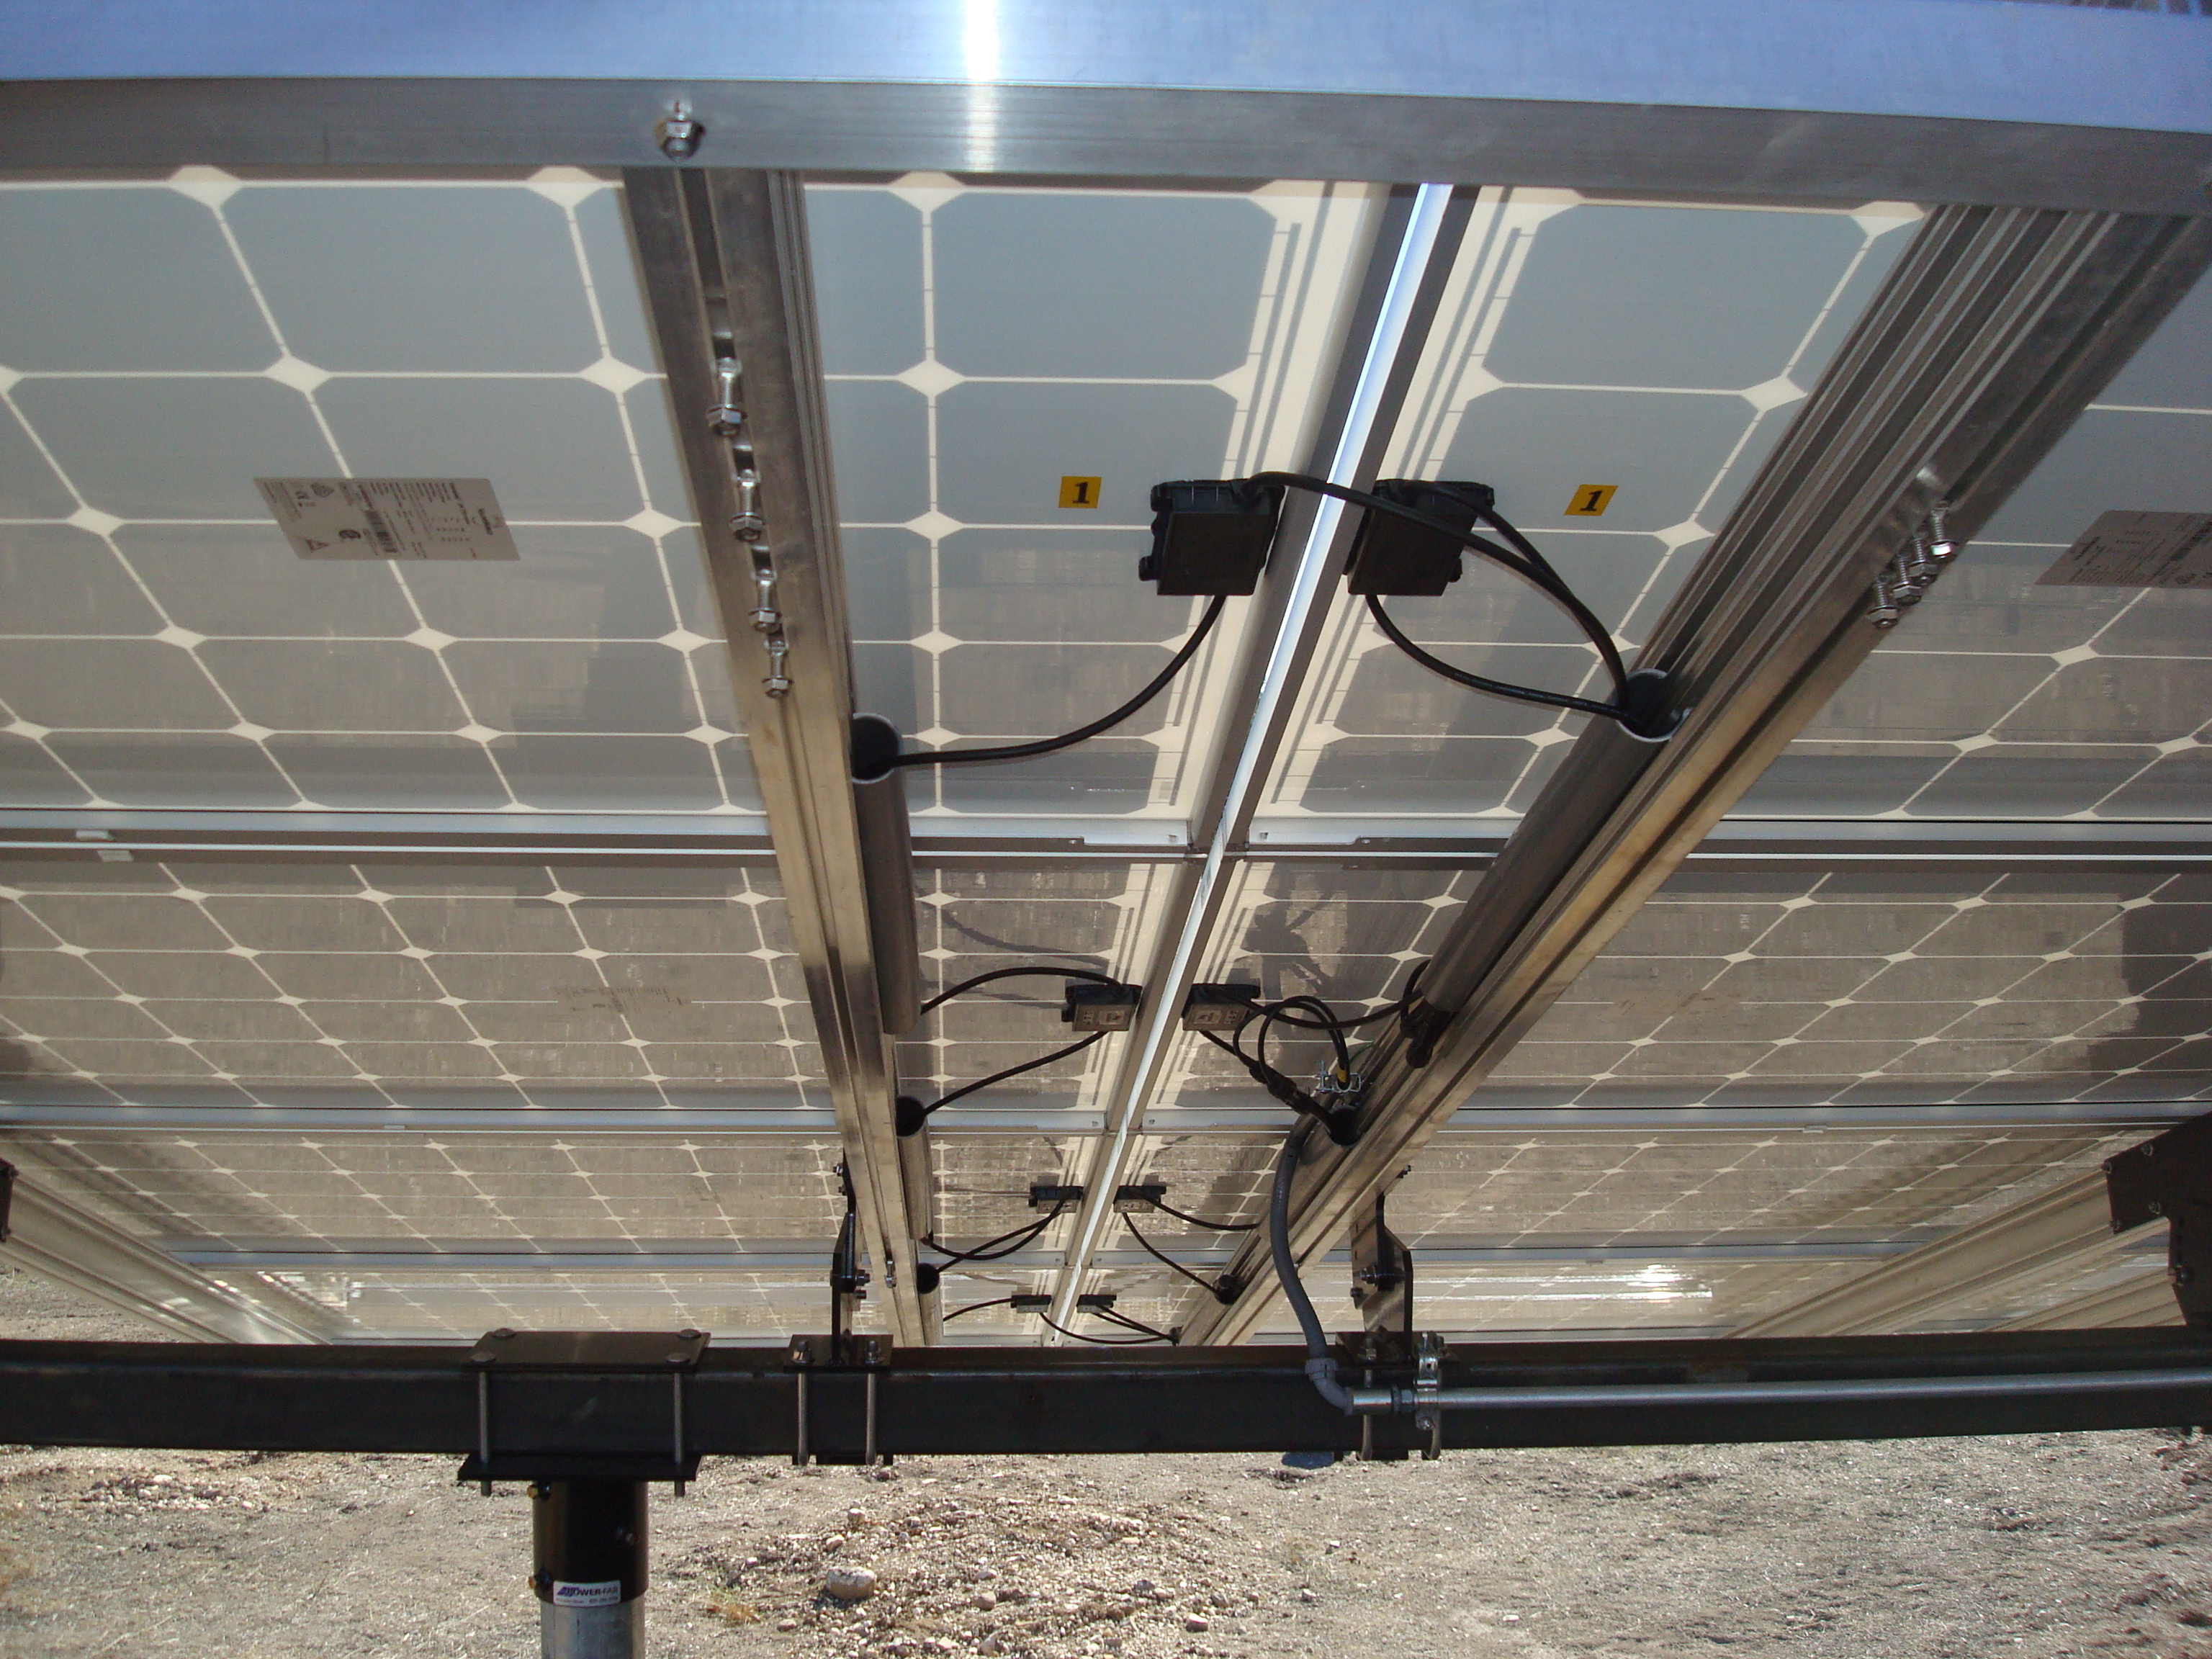
| Before shielding. Note wire management to keep wiring controlled. | After wire shielding is installed. |
 |
 |
| End detail. | End detail of an adjustable tilt array. |
 |
 |
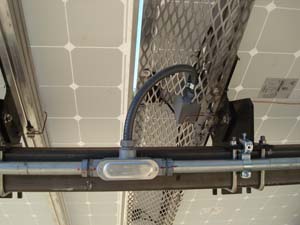
Conduit entry. This is the transition point between the conduit protected wiring and the mesh protected wiring. Mesh is bonded in all cases. |
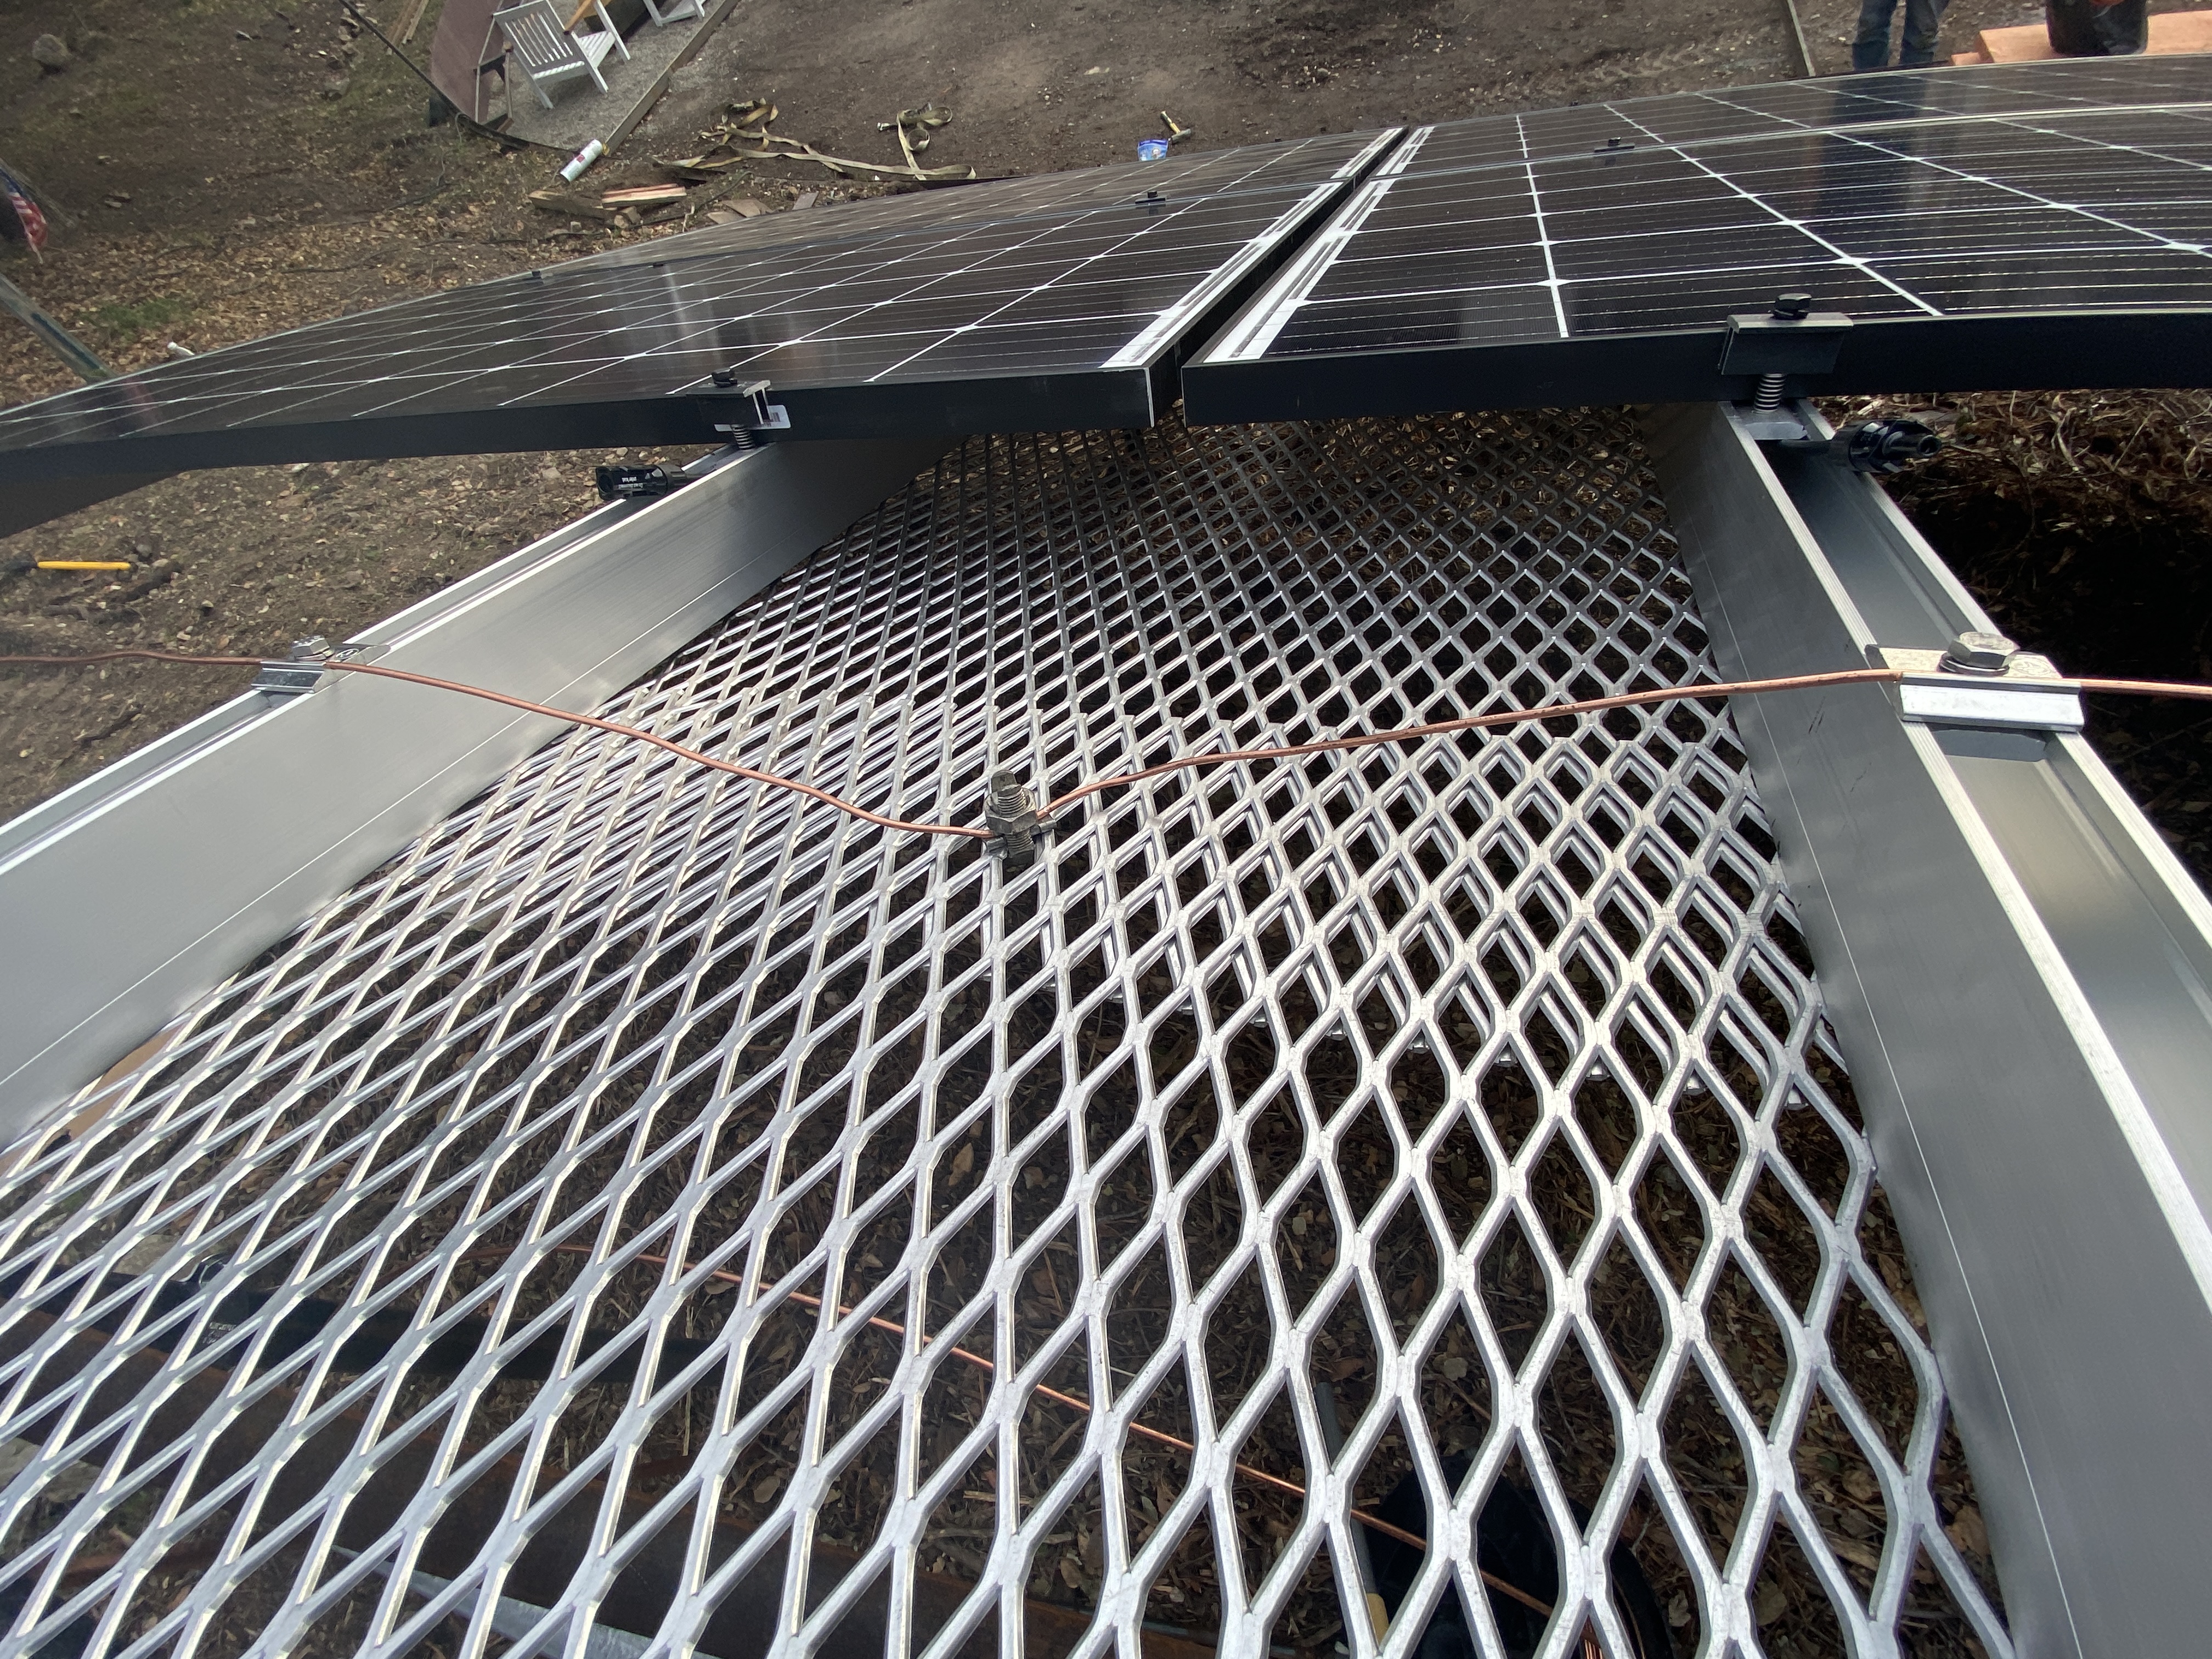
Here is how the mesh is bonded. The wire is #8 bare and it is run through a #2 dual-rated split bolt. |
 |
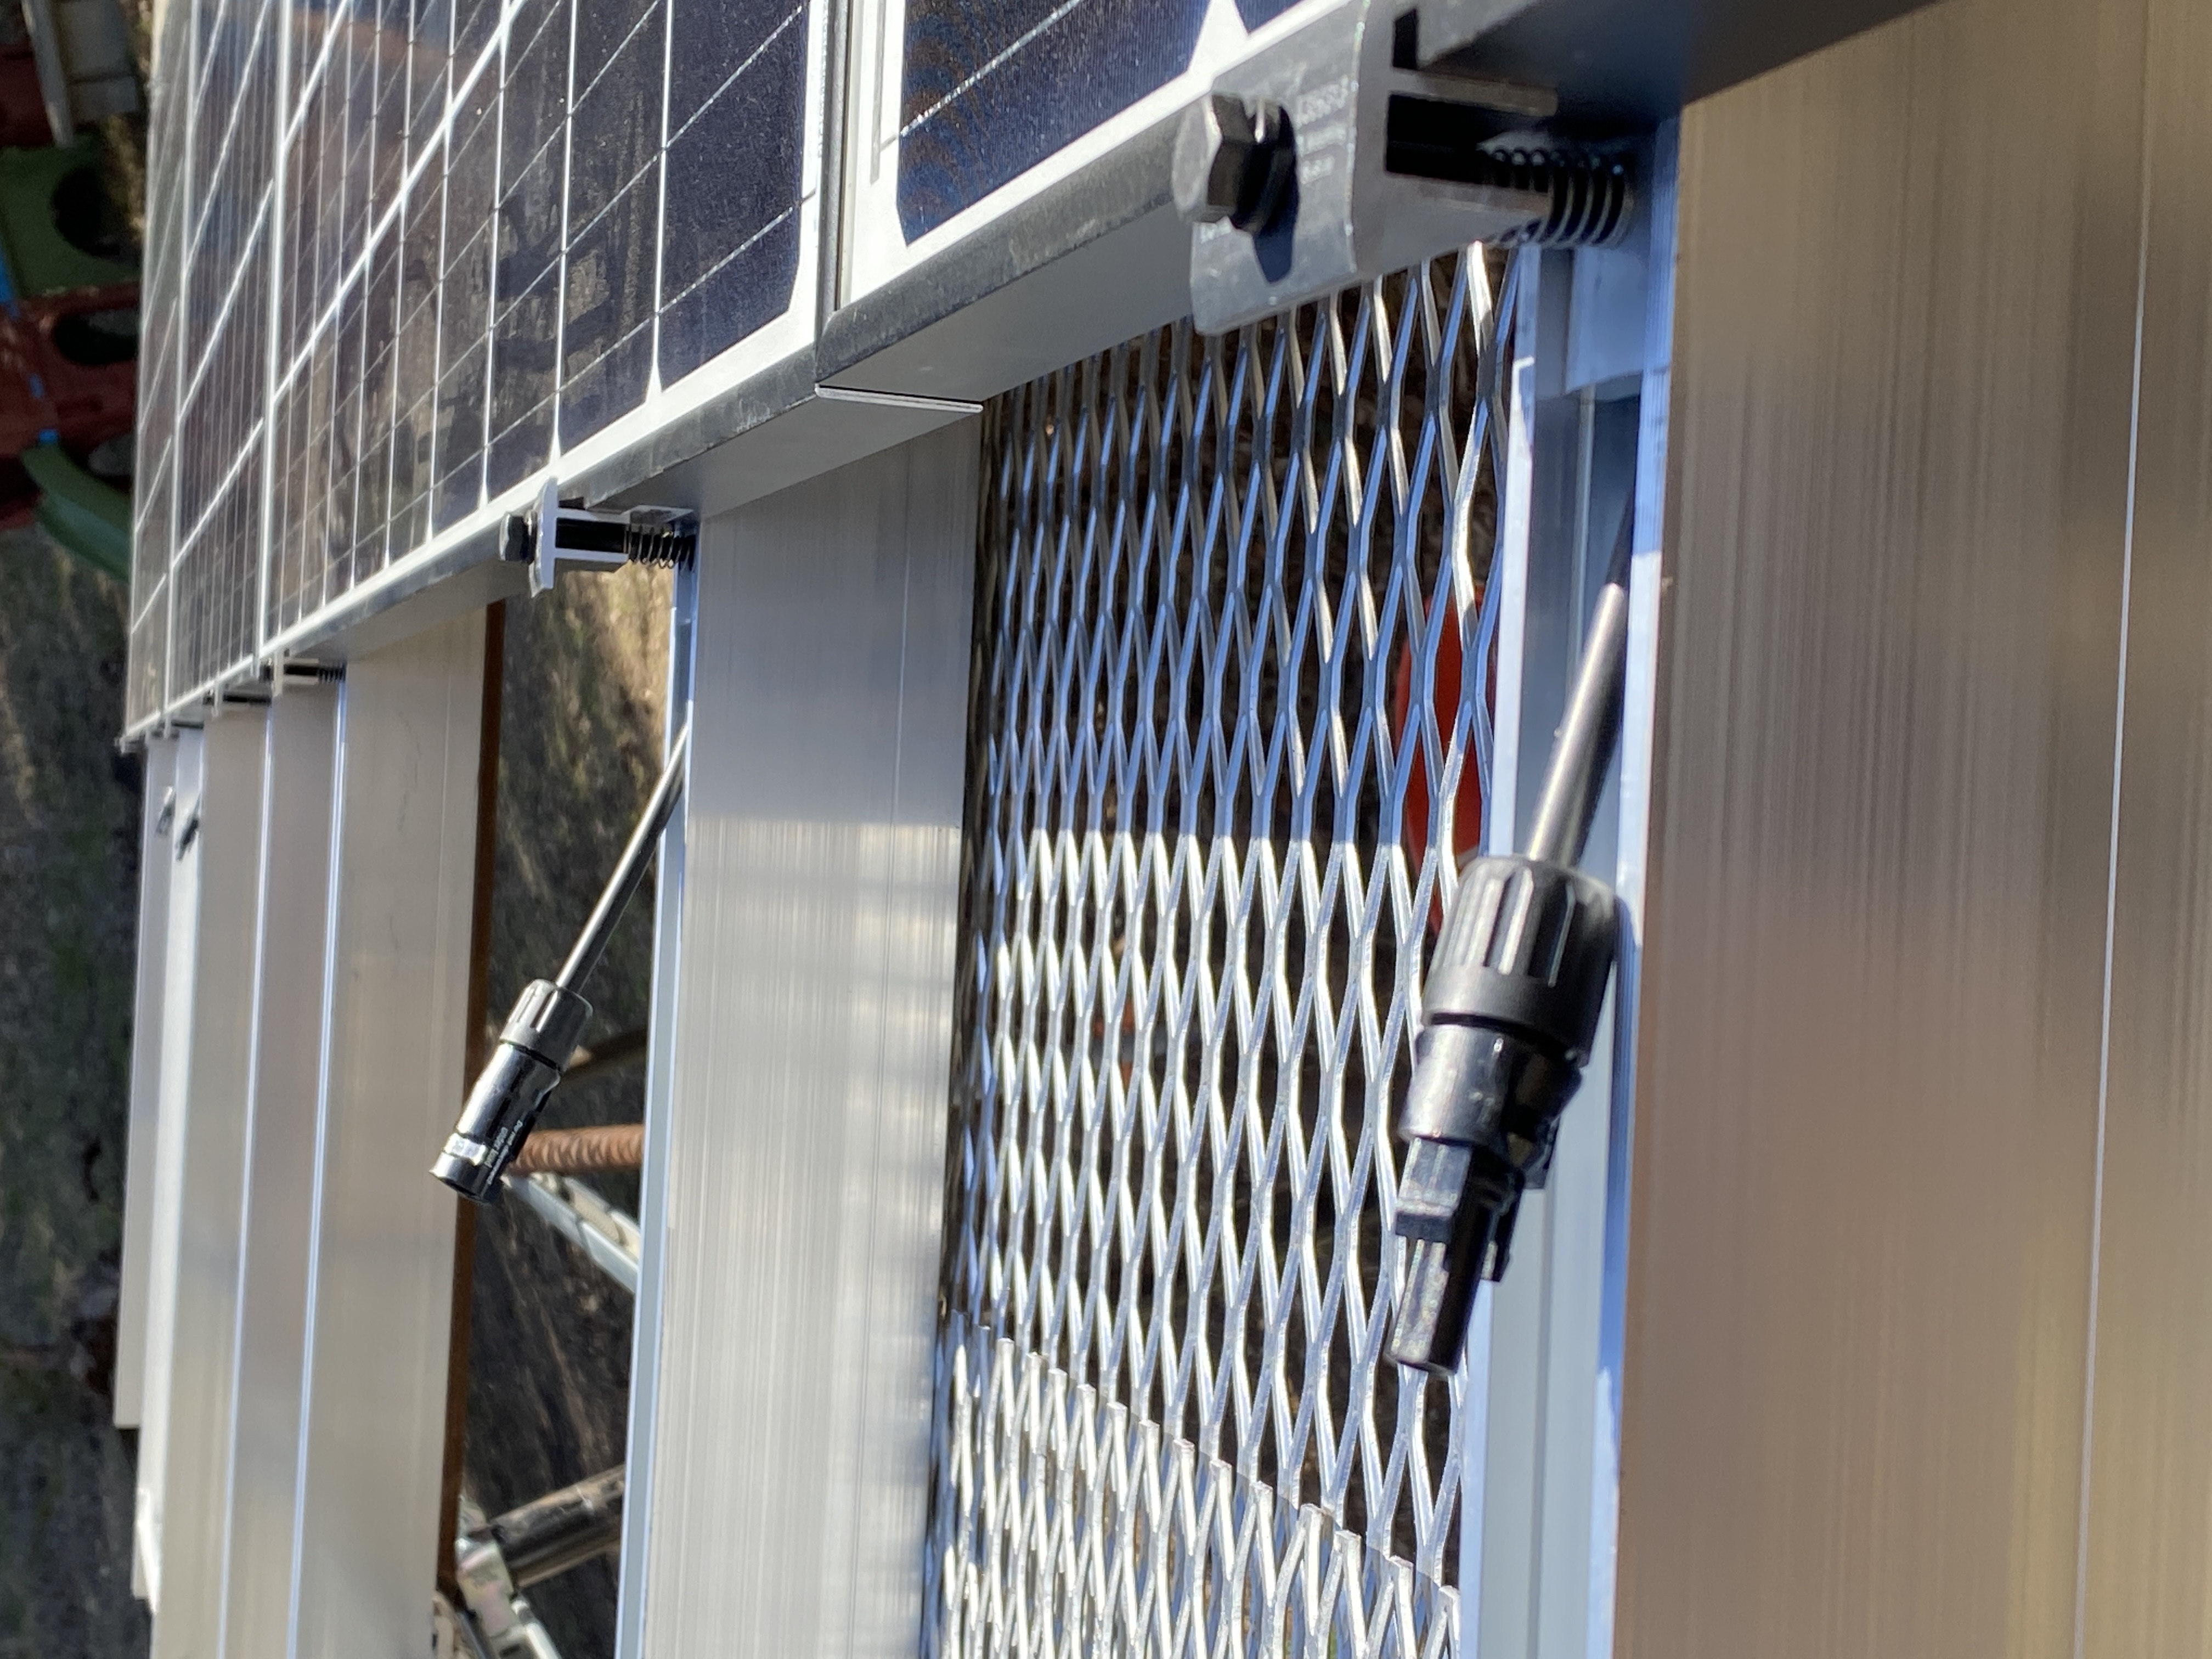 |
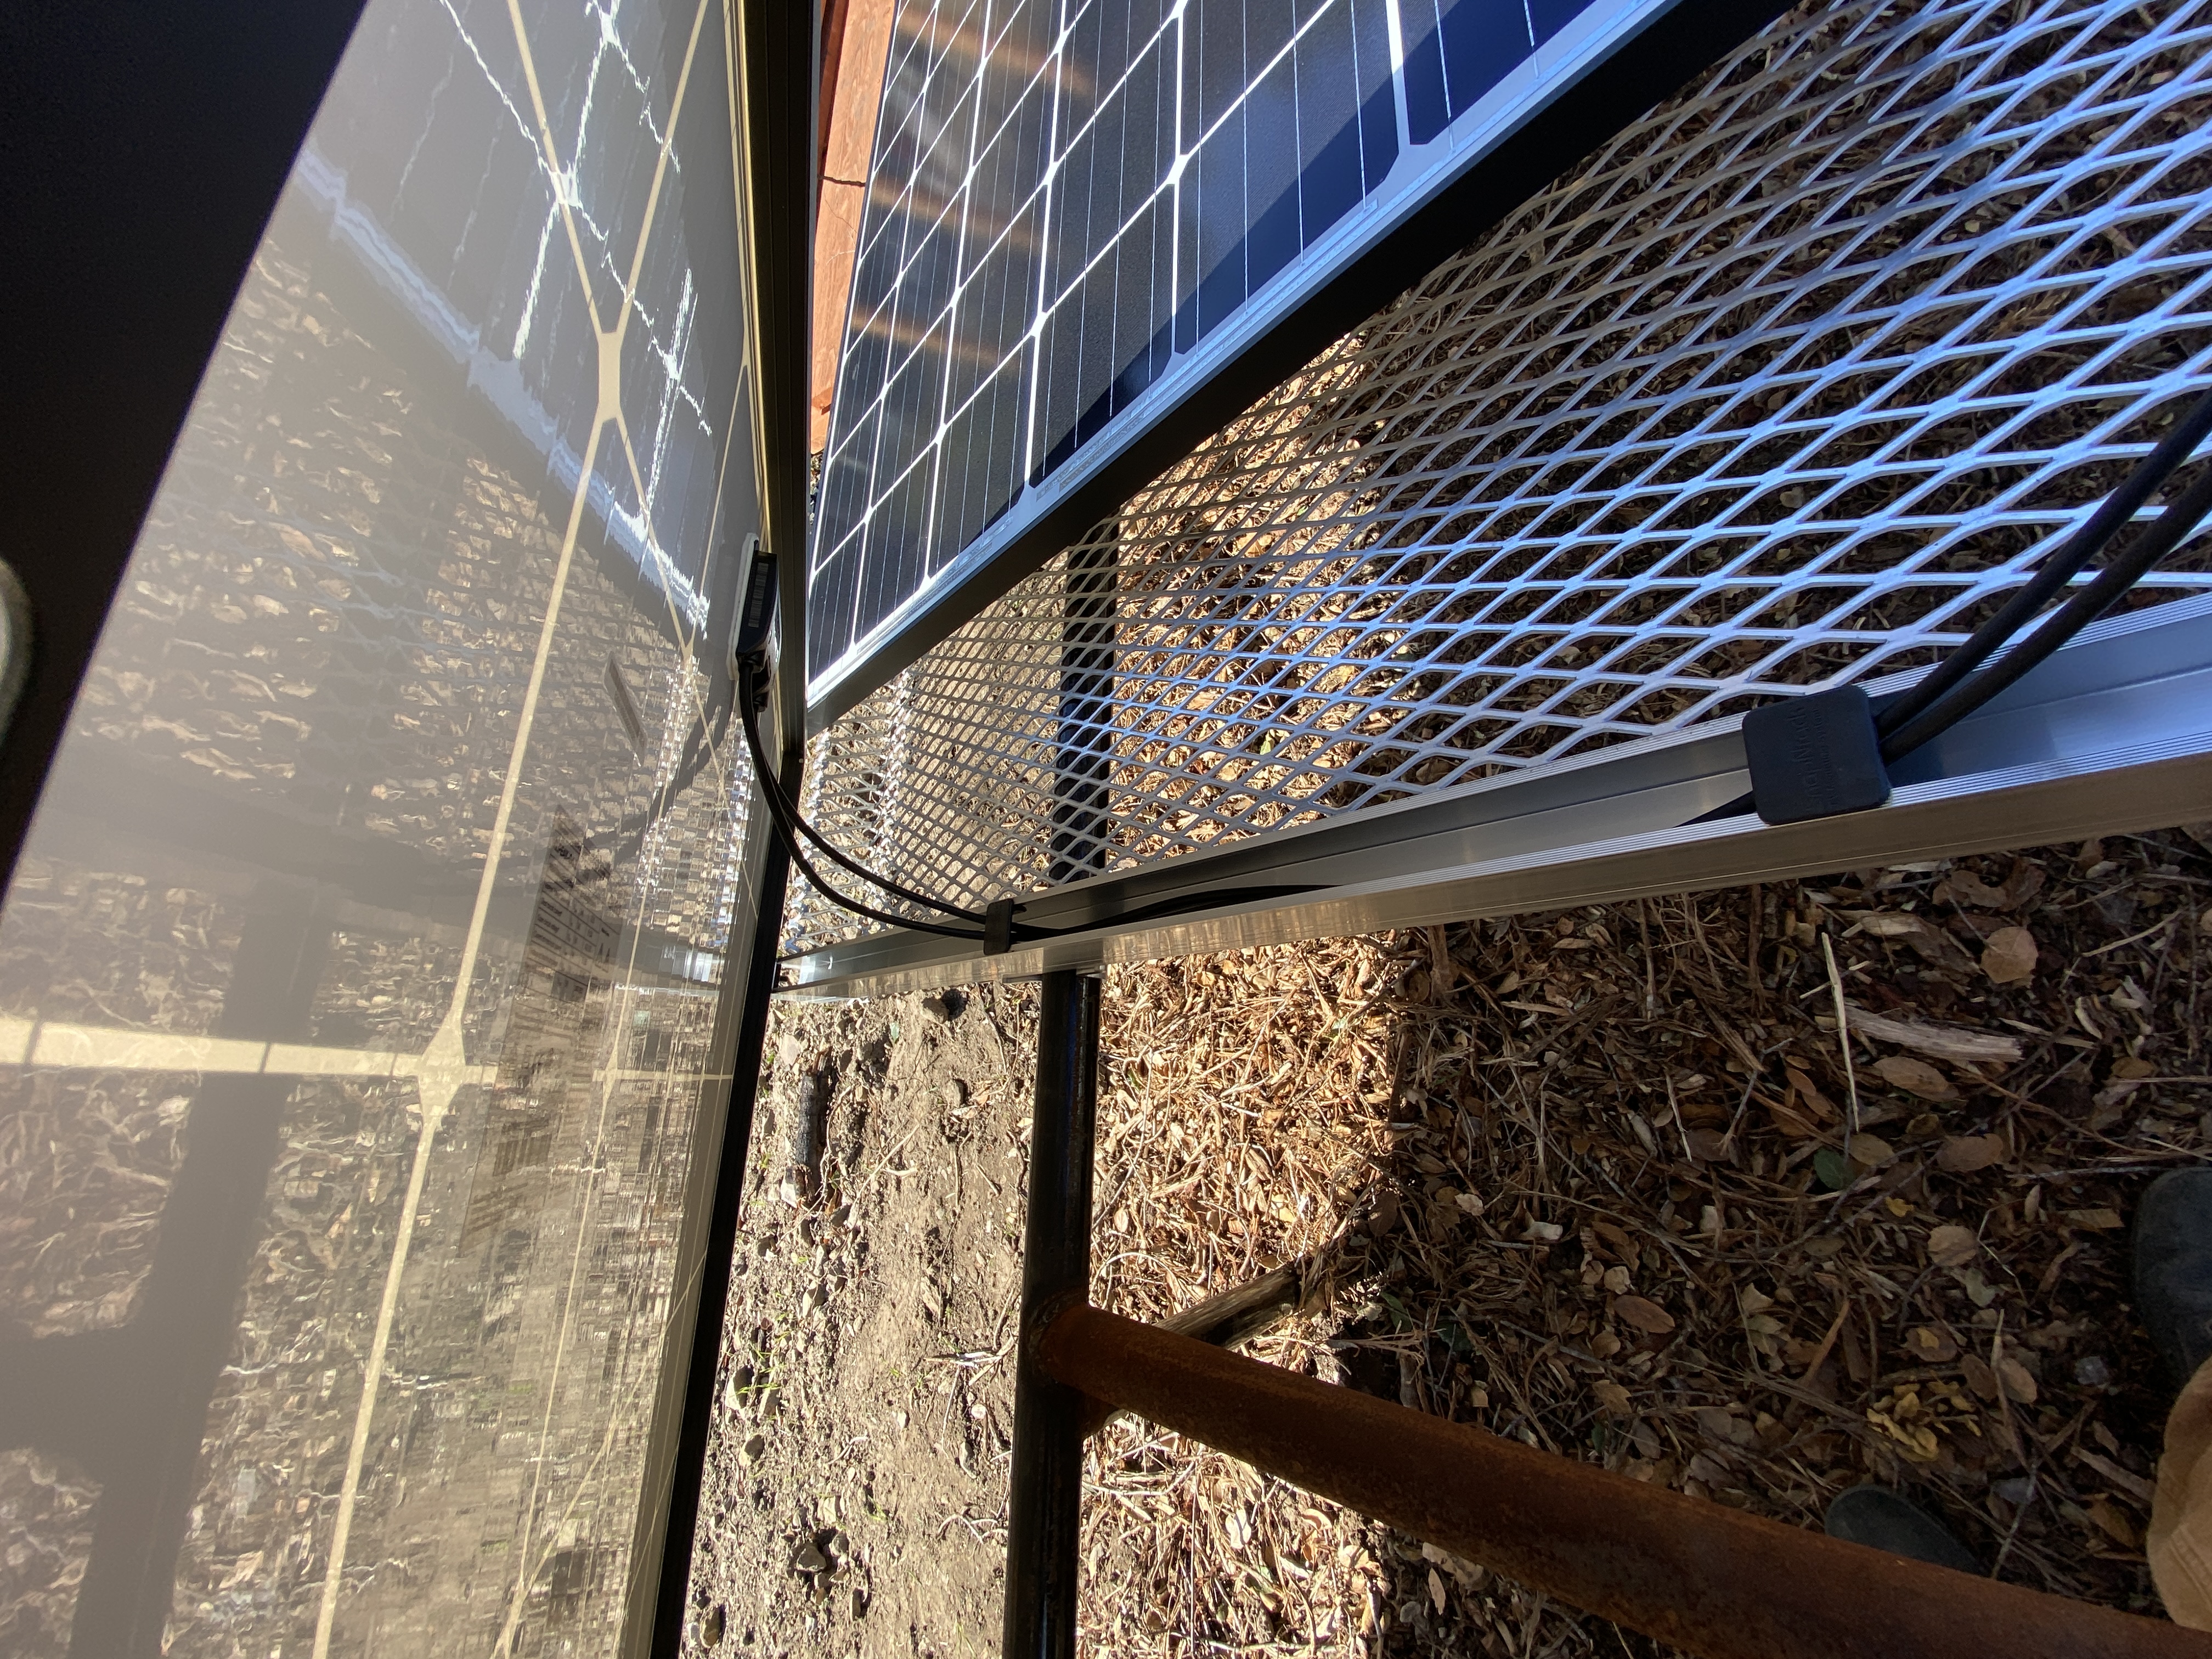
| The cased could be made that the mesh does not need to be bonded since with good wire management (see above) the cable is never going to touch the mesh. NEC Section 250.4(4) indicates only "conductive materials that are likely to become energized" need to be bonded. We typically opt to bond our wire guards to be extra thorough. | Another view of our wire management. The MC Connectors are captive in the mounting channel and ready for the next row of panels. We should note this installation is immediately adjacent to a children's play area. With good wire guarding and bonding an unsightly fence is not necessary around the solar installation. |
 |
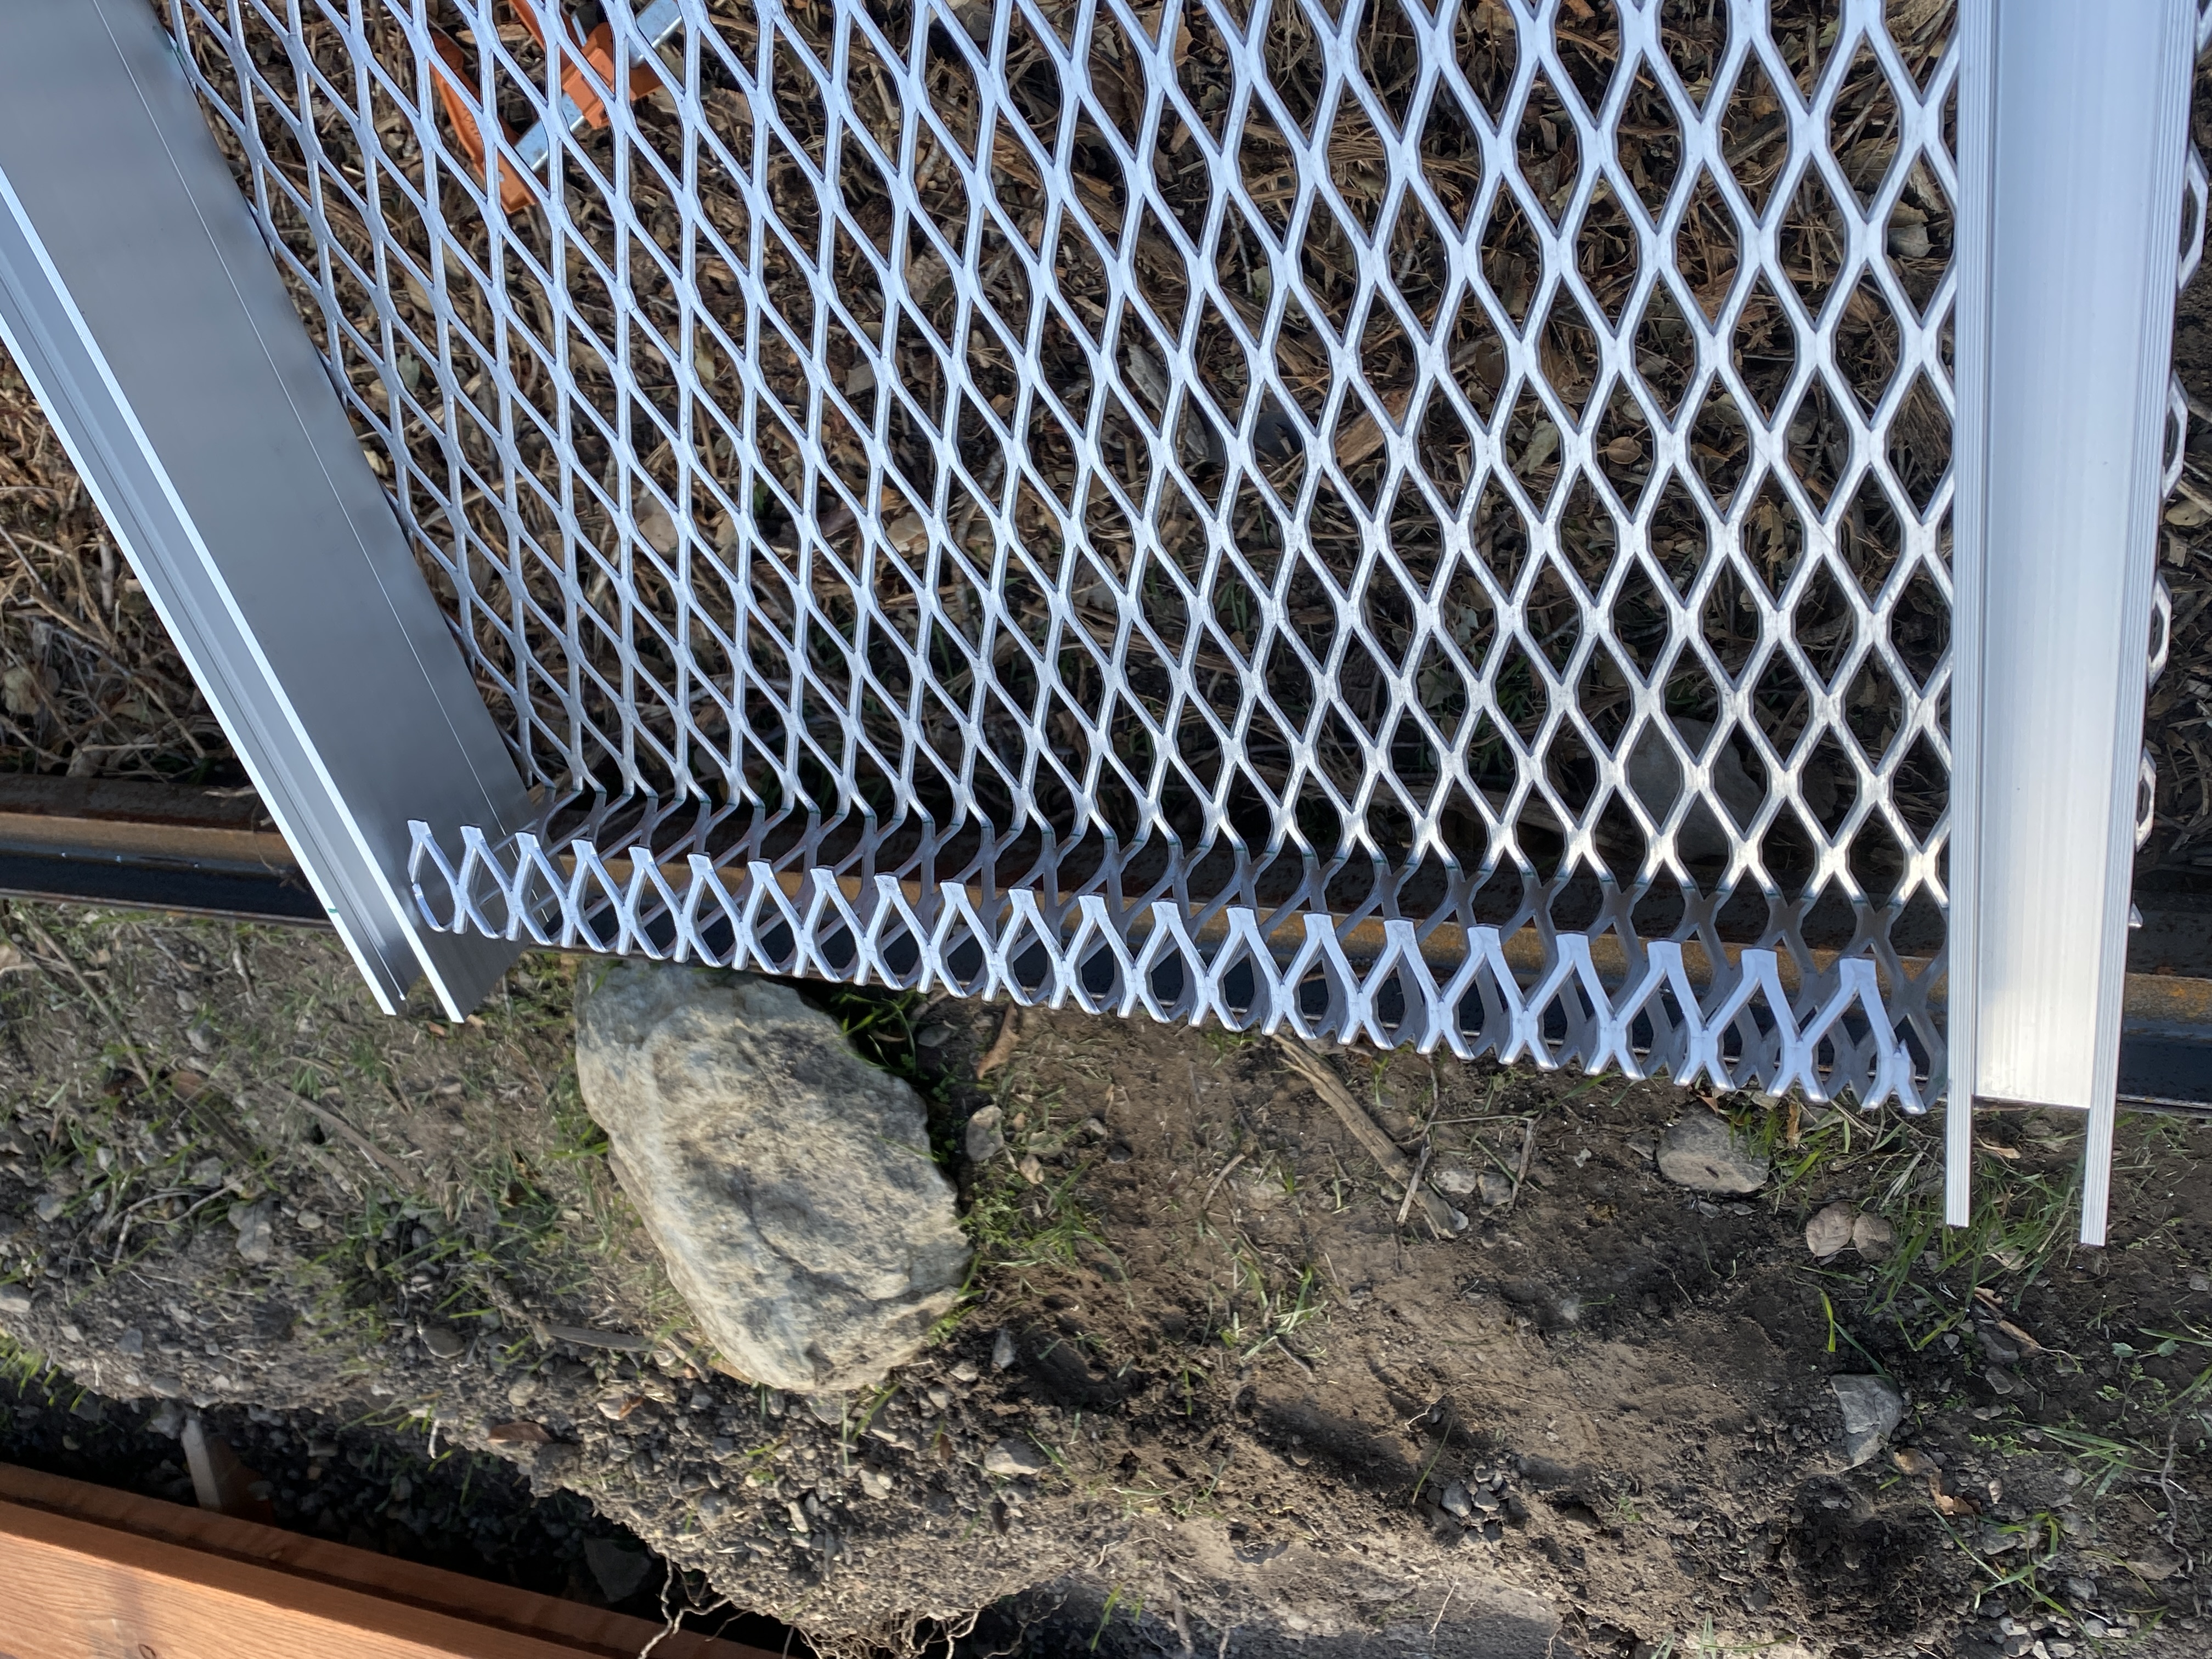 |
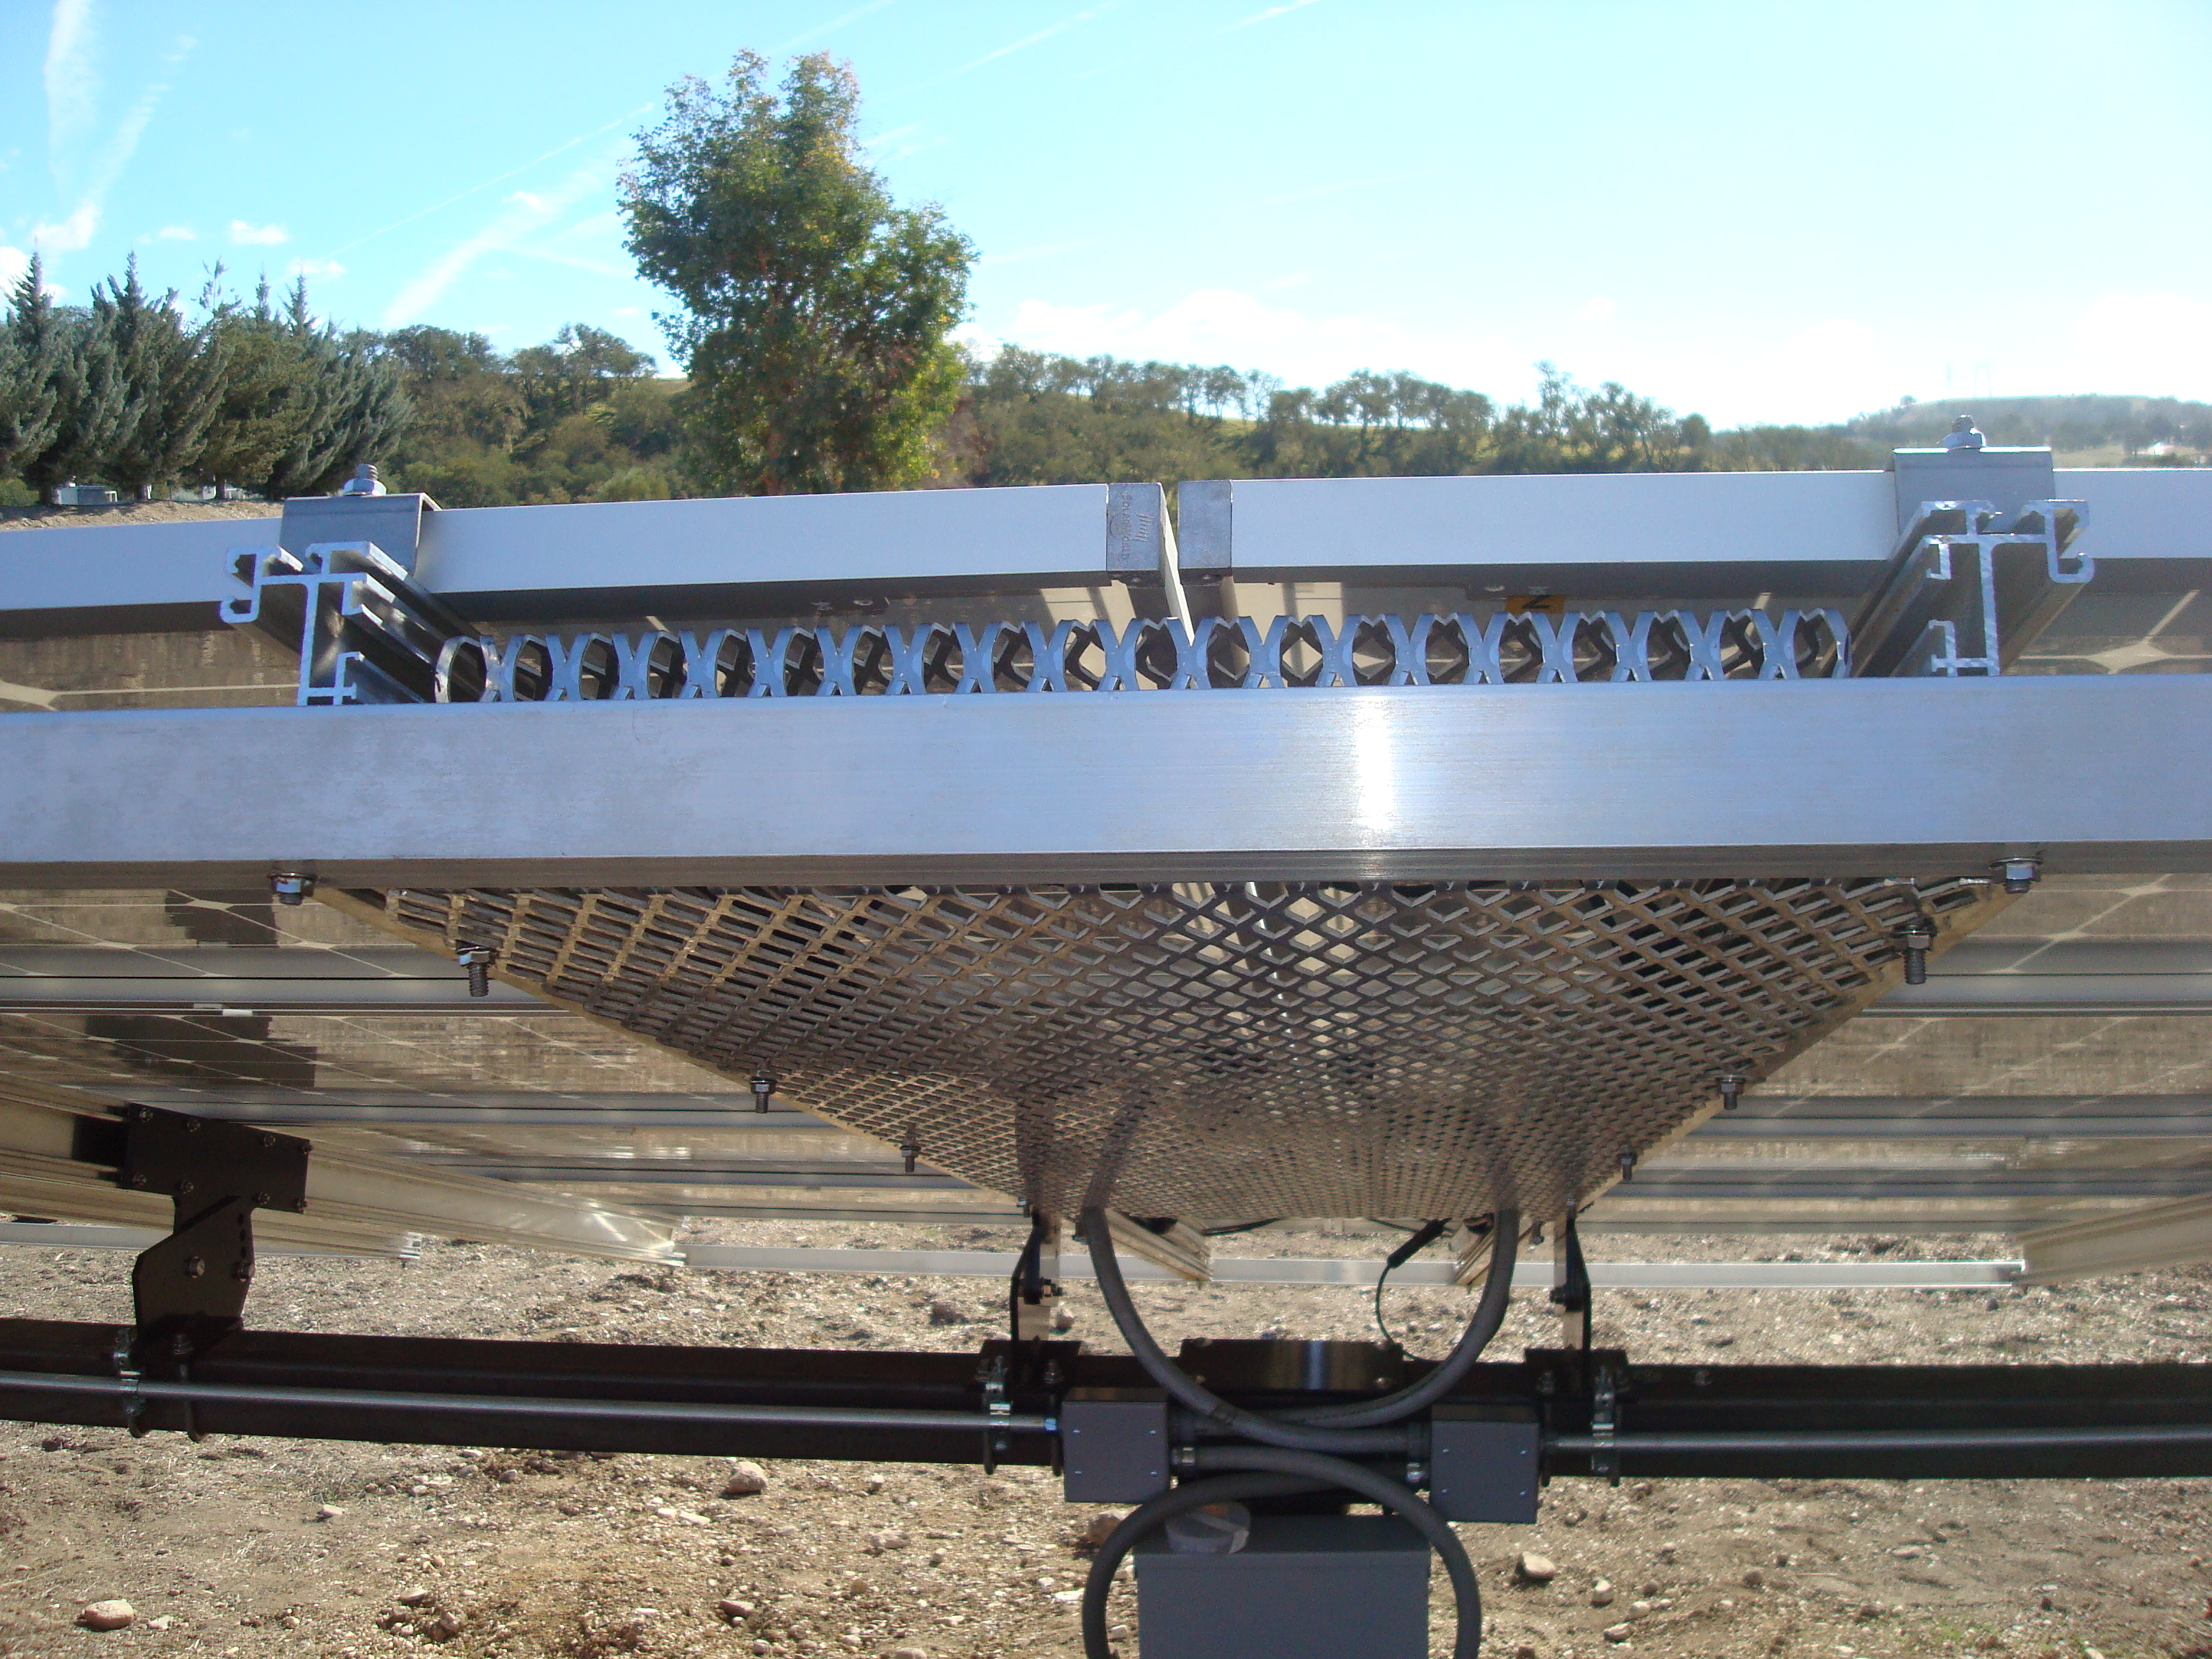
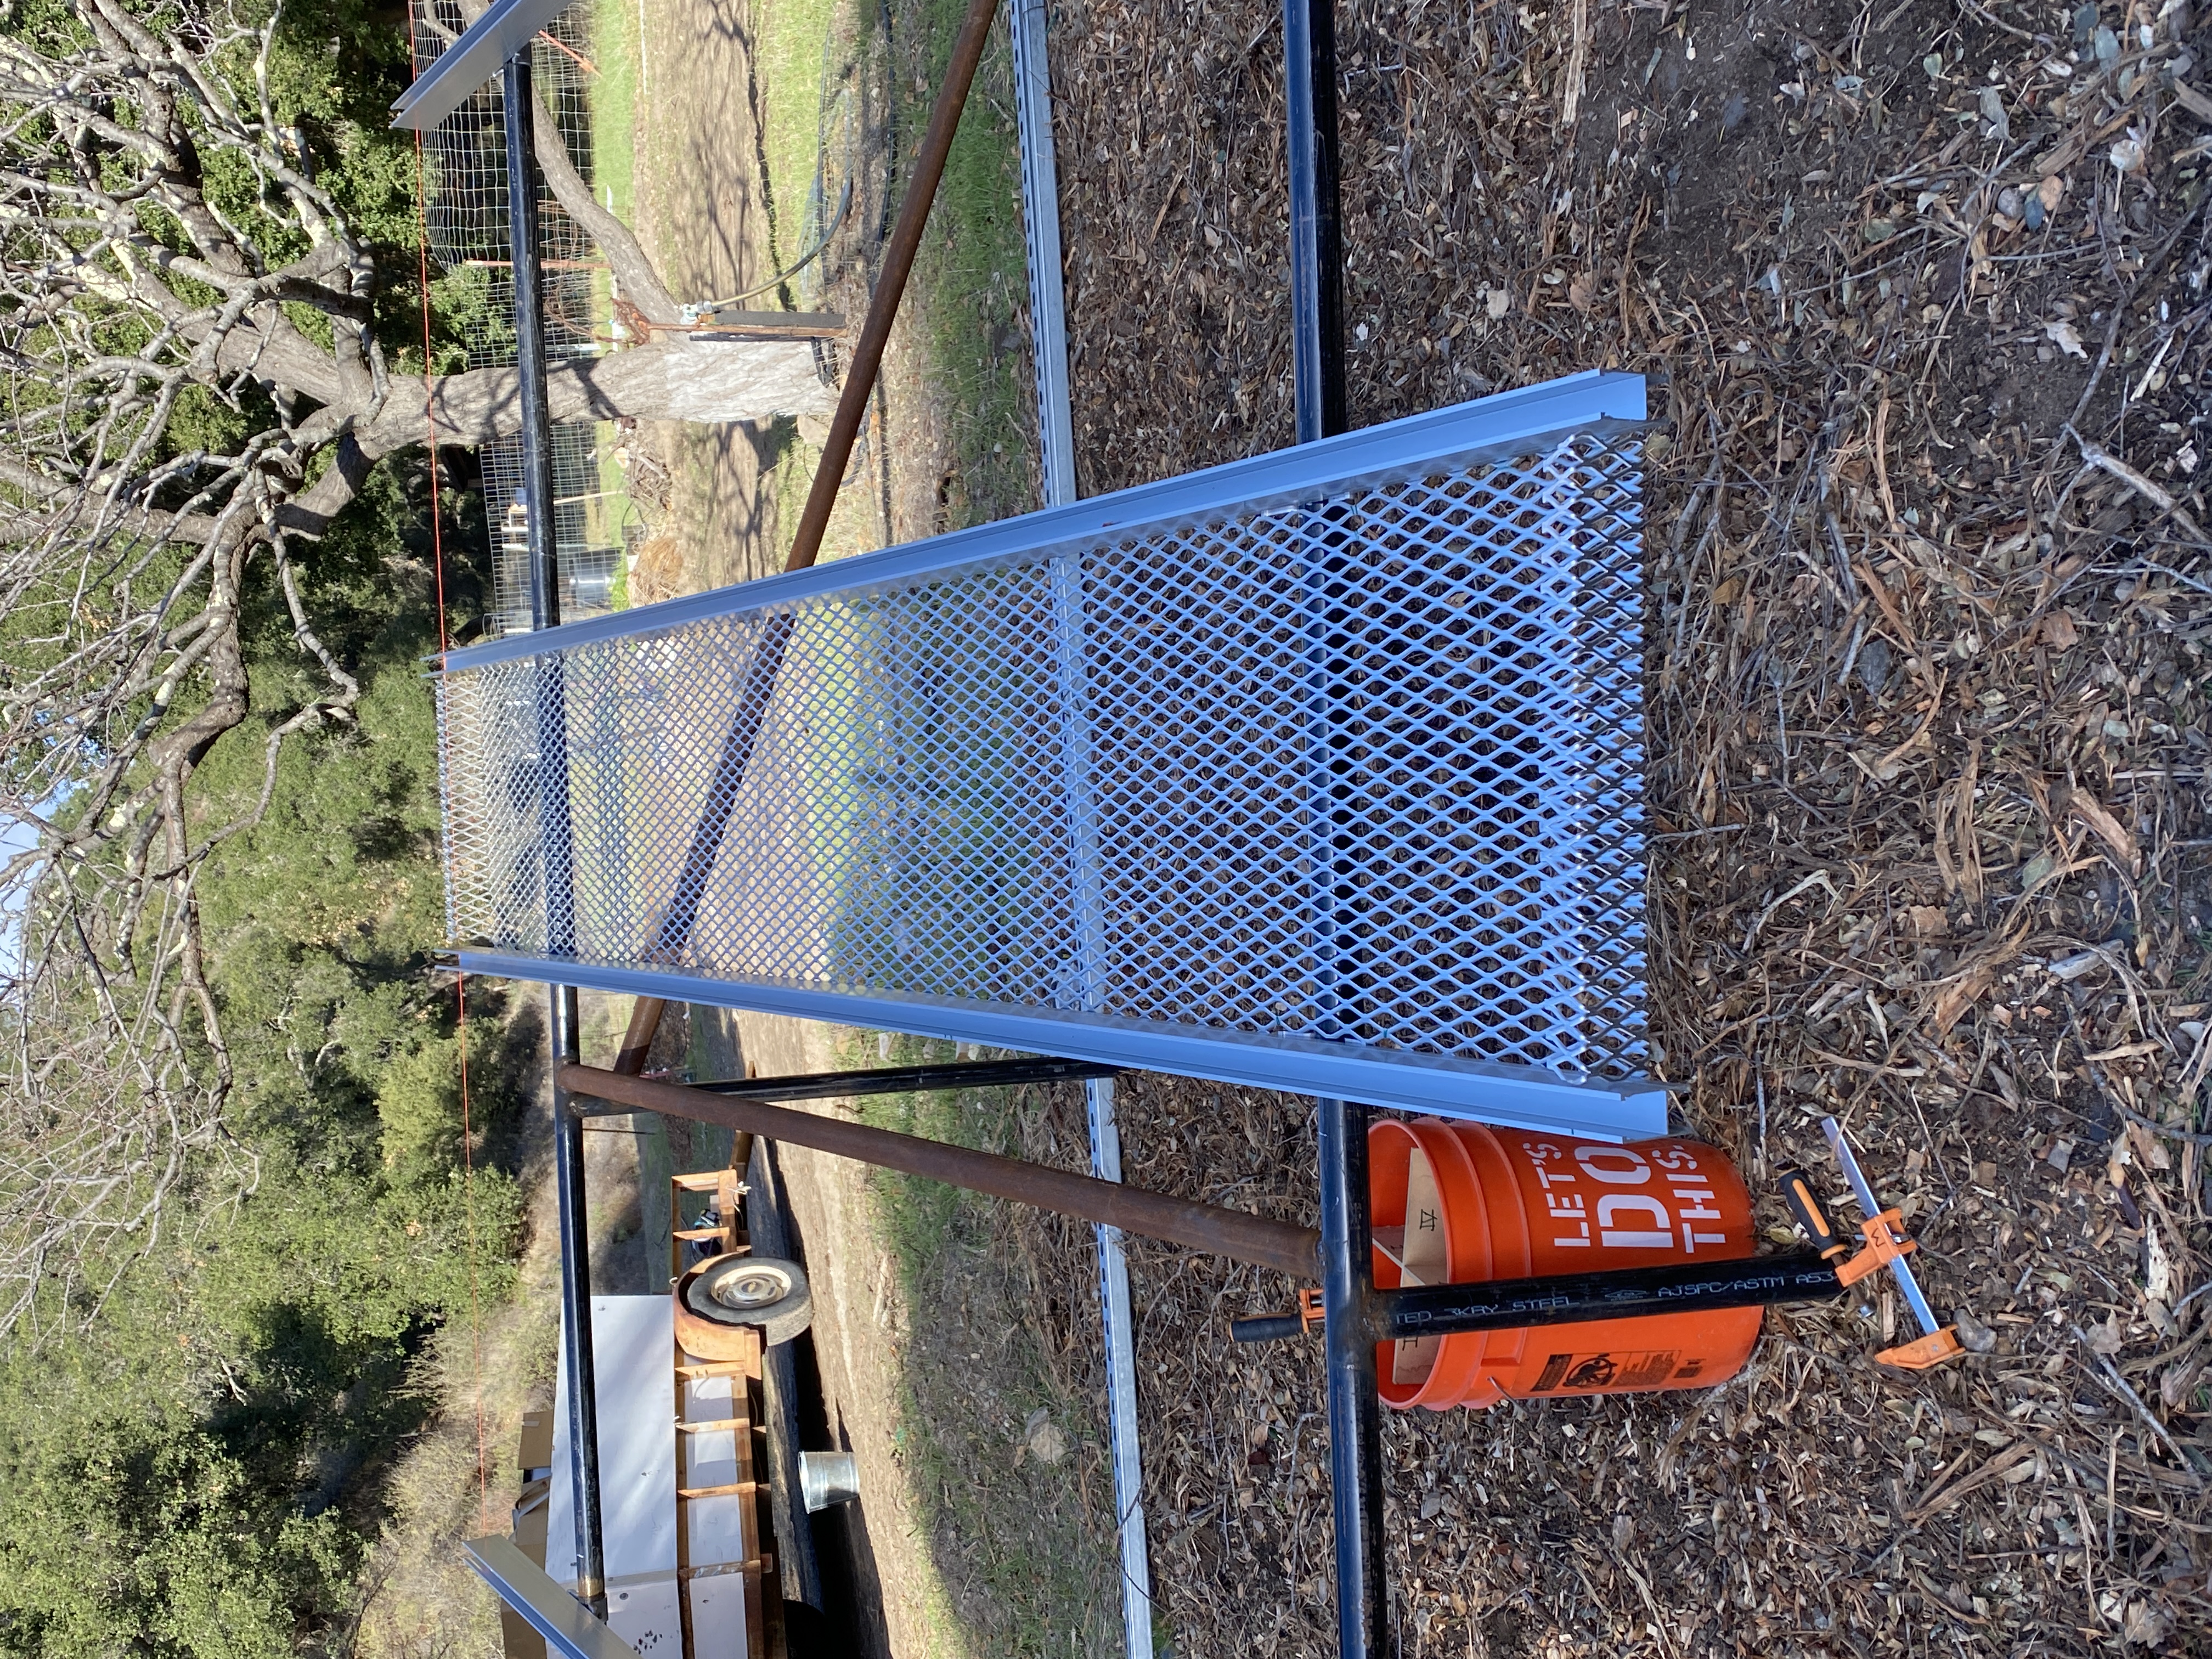
Another view of the expanded aluminum installed and ready for panel installation. The mesh is held in place by MLPE hardware a in the bottom channel of the SNAP-N-Rack 200 series rail. |
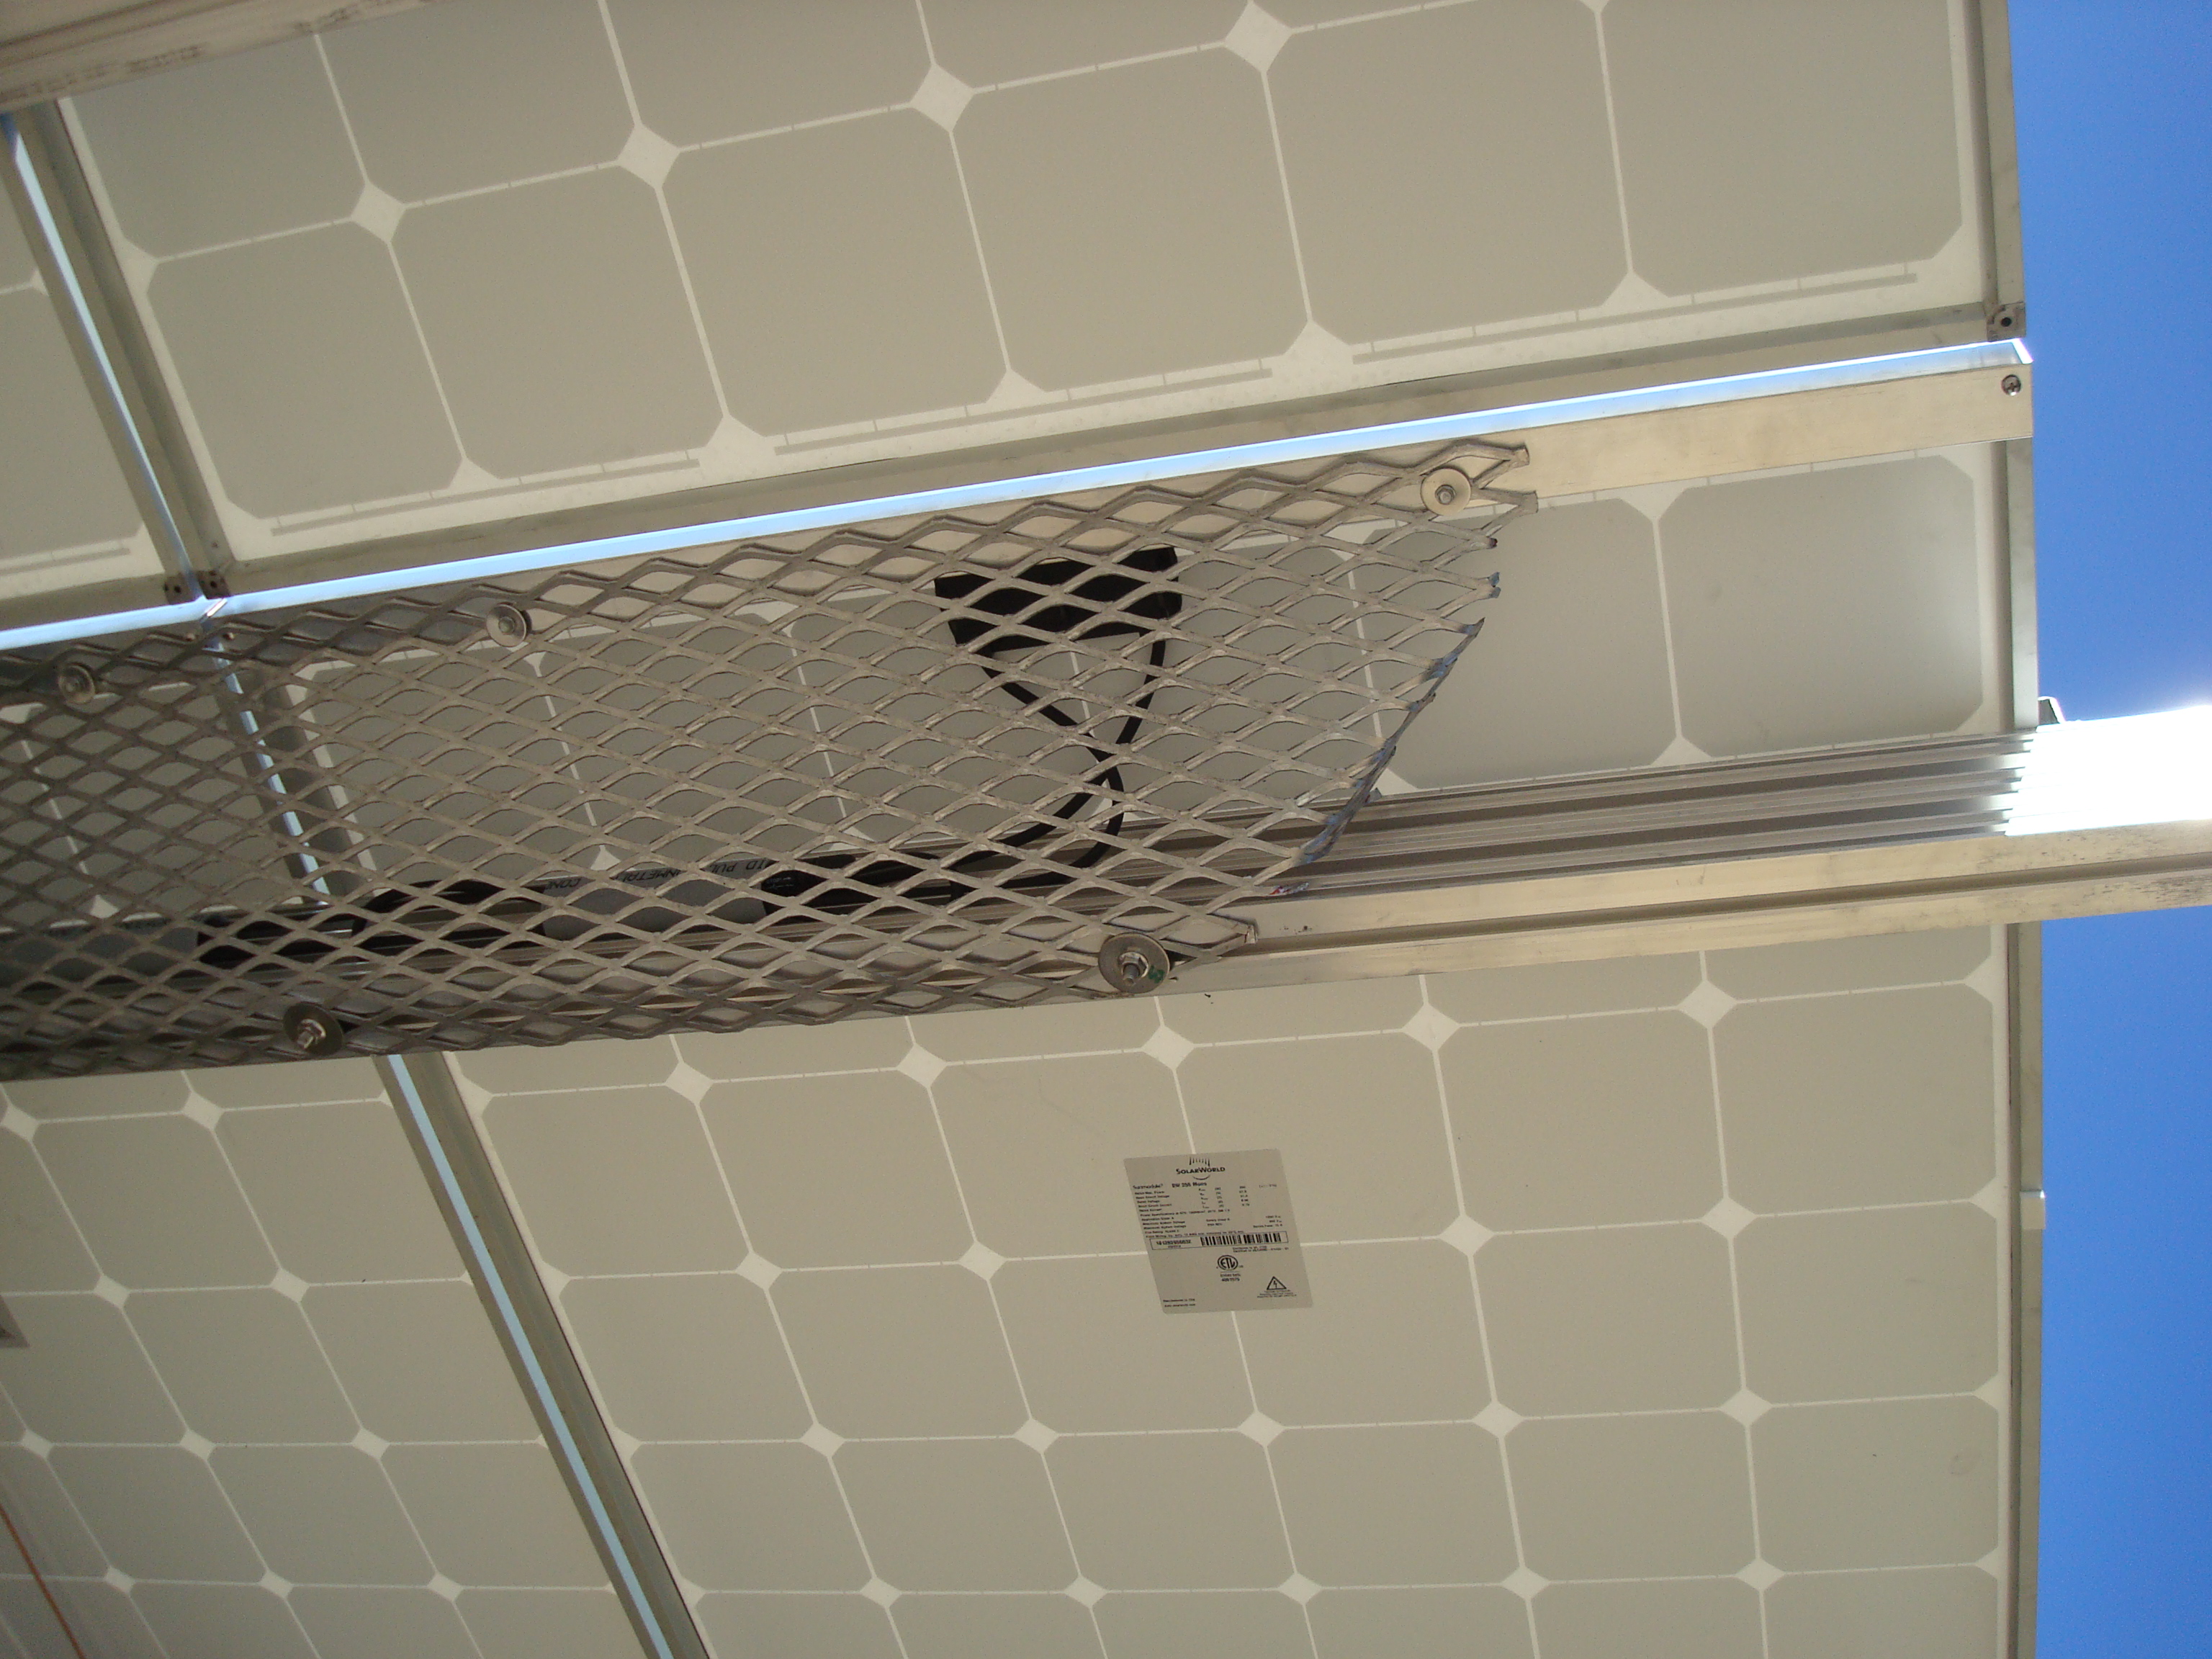
End detail of the mesh. The bend comes right up to the bottom of the module frame and prevents any possible contact with little fingers. |